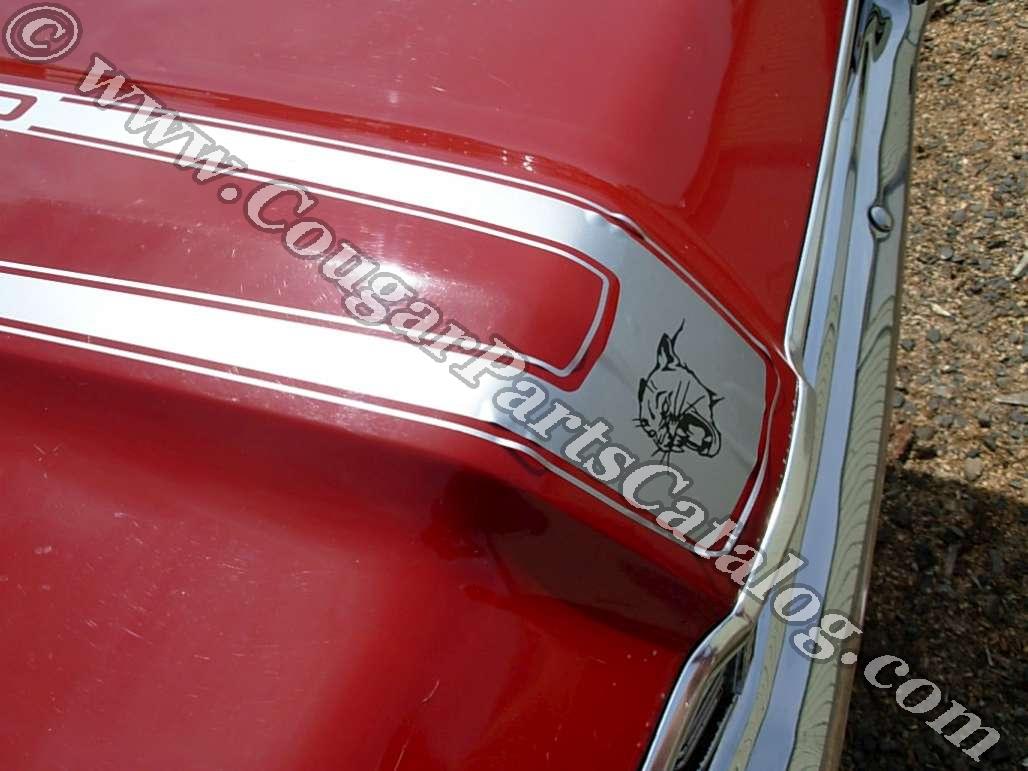
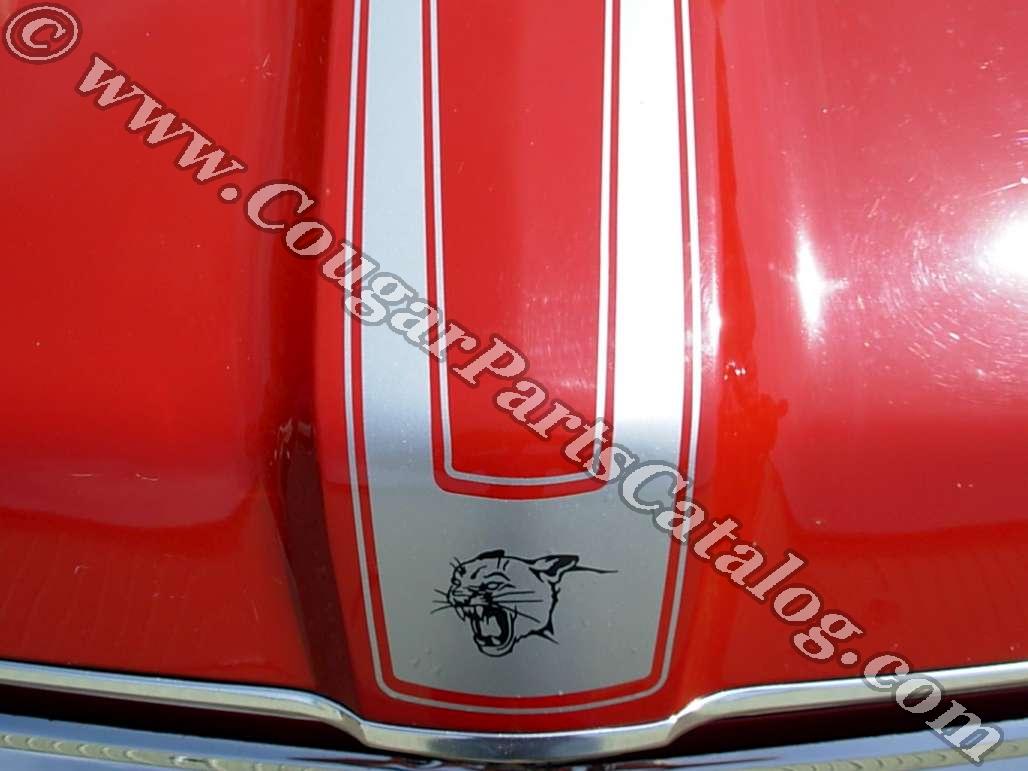
Our reproduction 428 CJ hood stripe kit in sliver with the black Cougar Head is made from quality 3M stock and patterned from an original Ford kit. Check out our video below showing how to install this hood stripe.
NOTE: The hood stripe with the Cougar head was originally specific to 69 Cougars
equipped with the 428CJ, and was also available on 69 Cougars equipped with
the 351 w/ Competition Handling Package.
There's a fun fact filled thread on hood stripes on the Cougar forum, which you can find here.
Below is an older write-up with pictures showing the same process on another car.

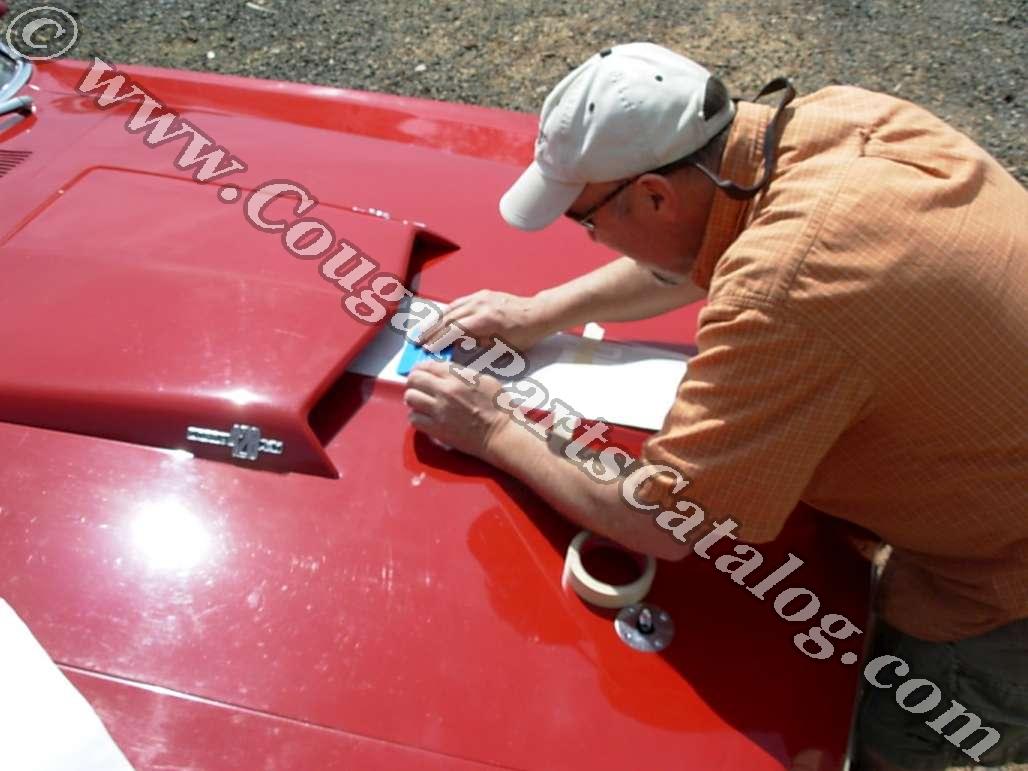
Here we have Mike Honan from "Mike Honan Signs And Graphics" showing us how to install a hood stripe on a 1969 Cougar. Mike has been designing and installing automotive stripe kits for years and is considered "The Go To Guy" here in the Willamette Valley. If you are in the area and would like him to come to you to install a stripe kit (or do paint on pin striping) you can email him at Honan78@comcast.net or check him out his website at http://www.honansigns.com/ . Mike also can design custom stripes for you no matter where you reside, just drop him a line. His prices are very reasonable and the quality and pride in workmanship is A-1.

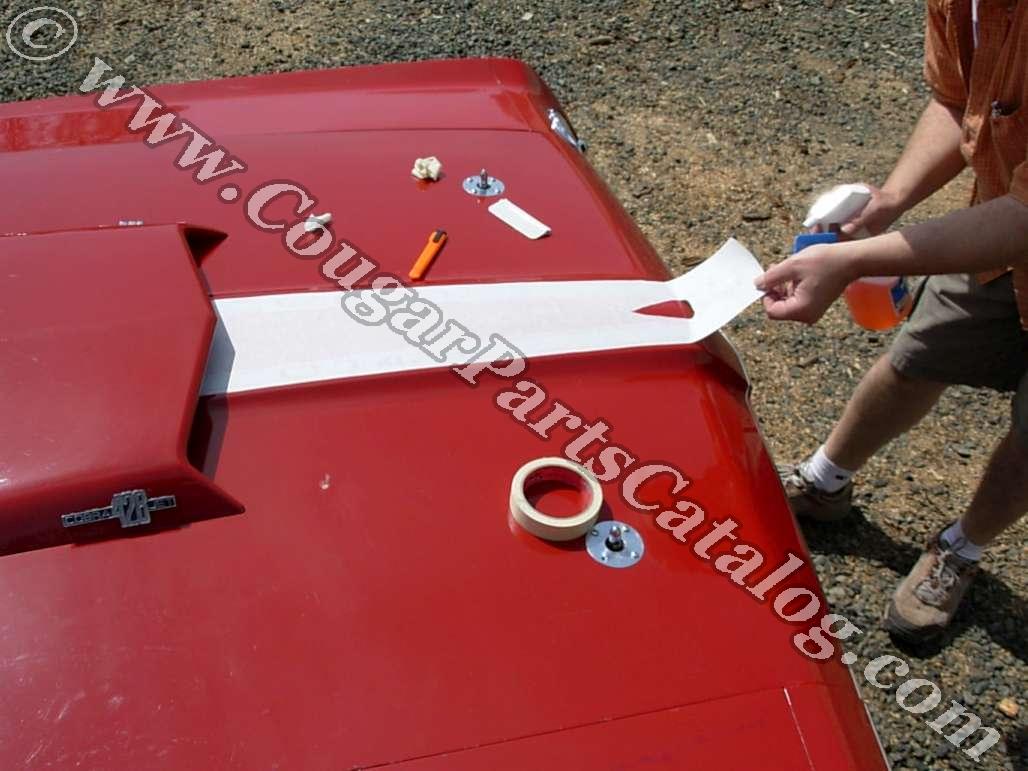
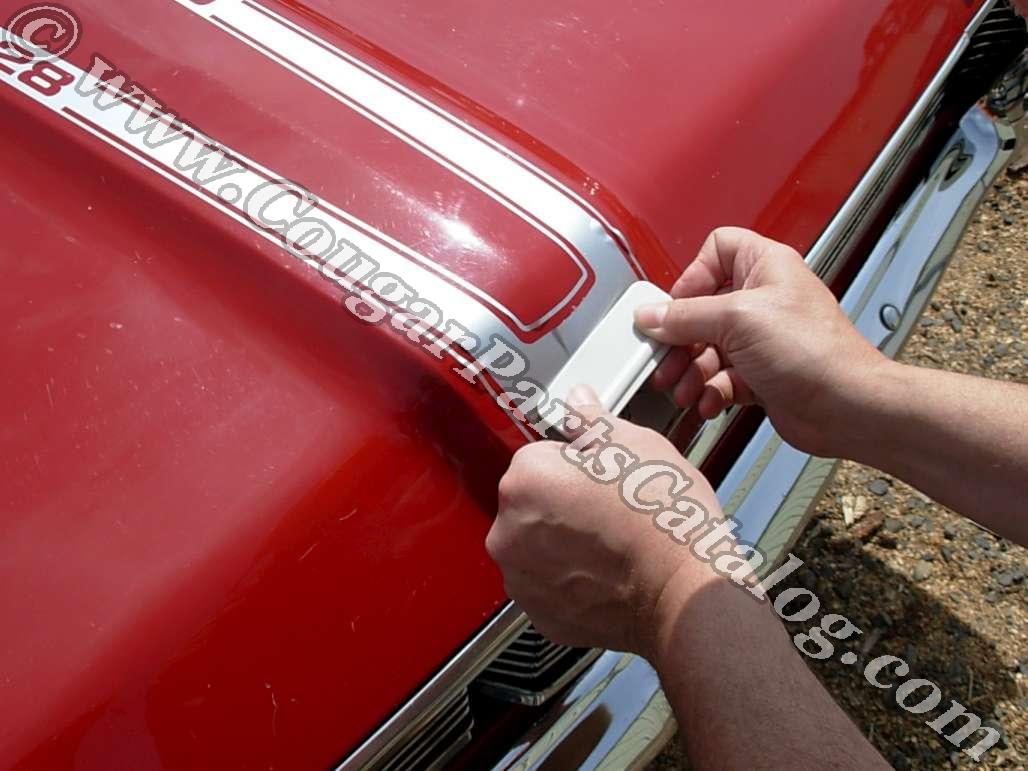
First off you need to center the stripe, most likely you will have to trim the backing paper so it is equal on both sides of the stripe.

The next step is to cut half of the backing paper off and start laying down the decal.


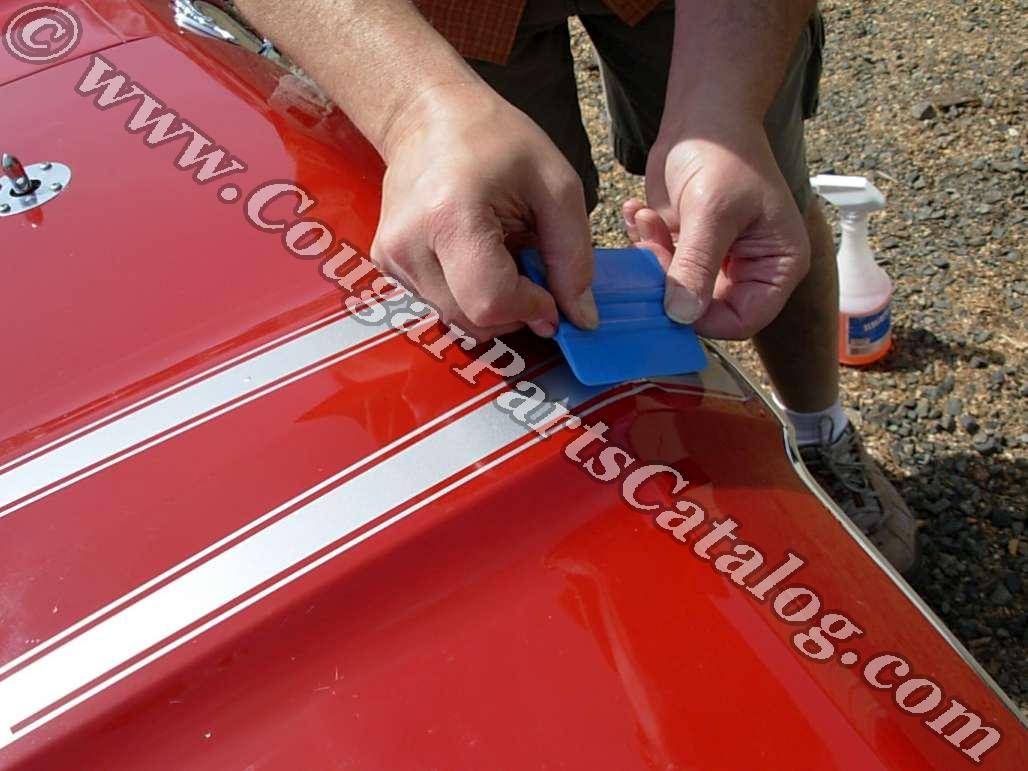
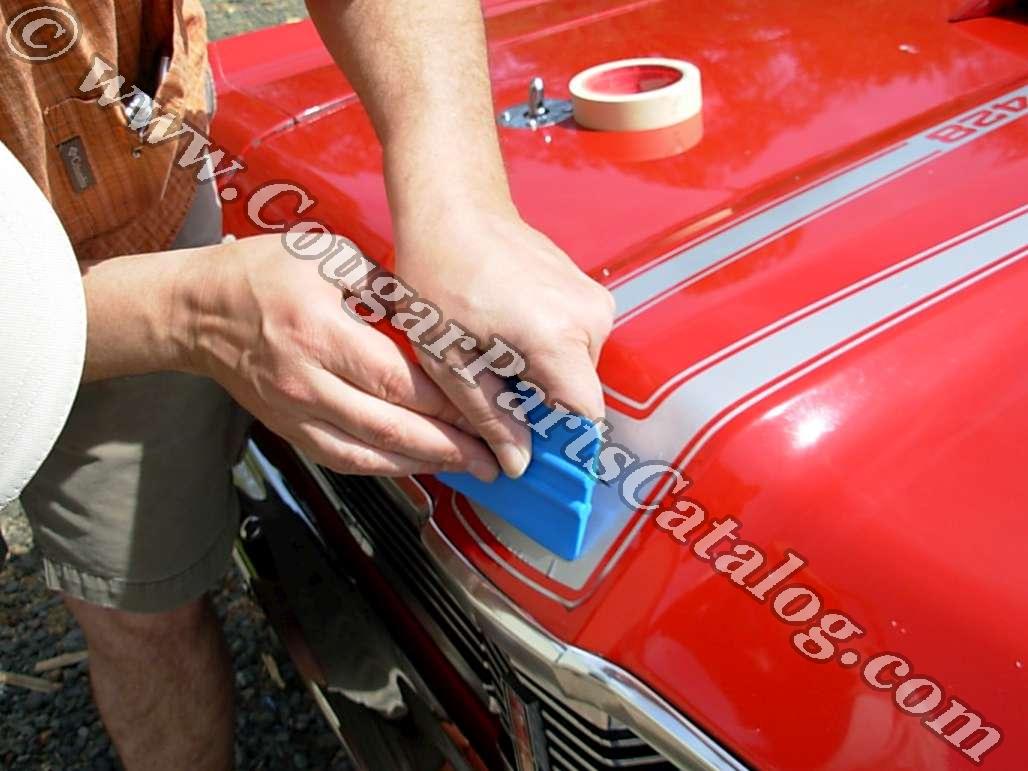
Carefully work the bubbles out from the center out. Do not expect to get all of the bubbles out right away.
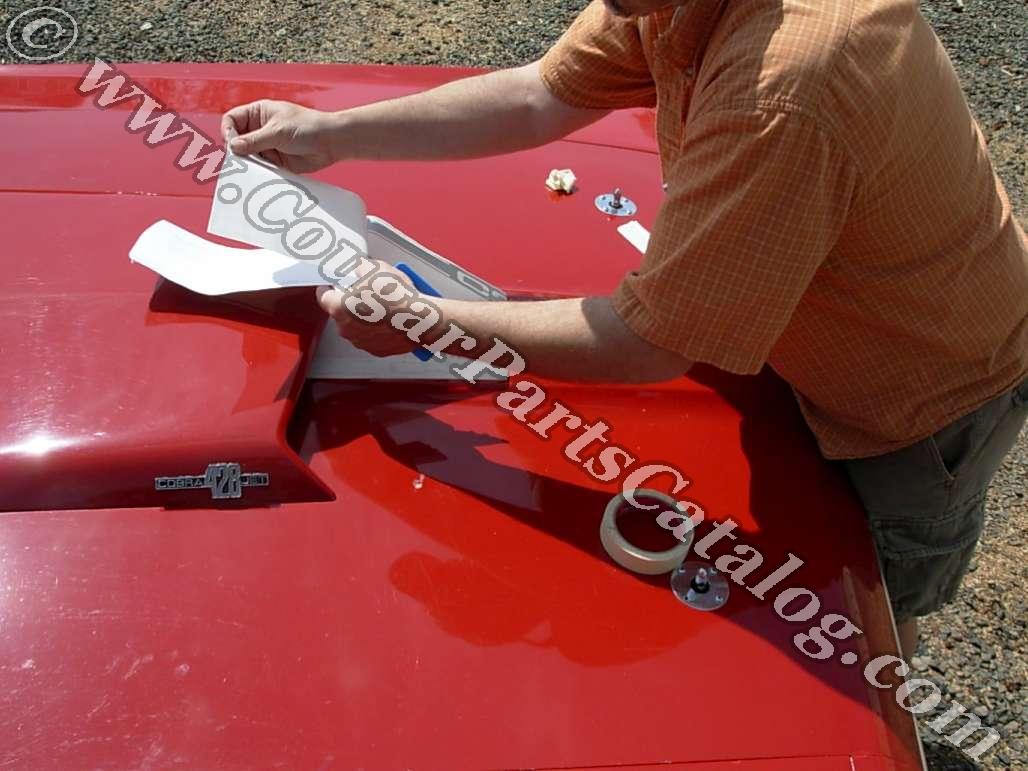
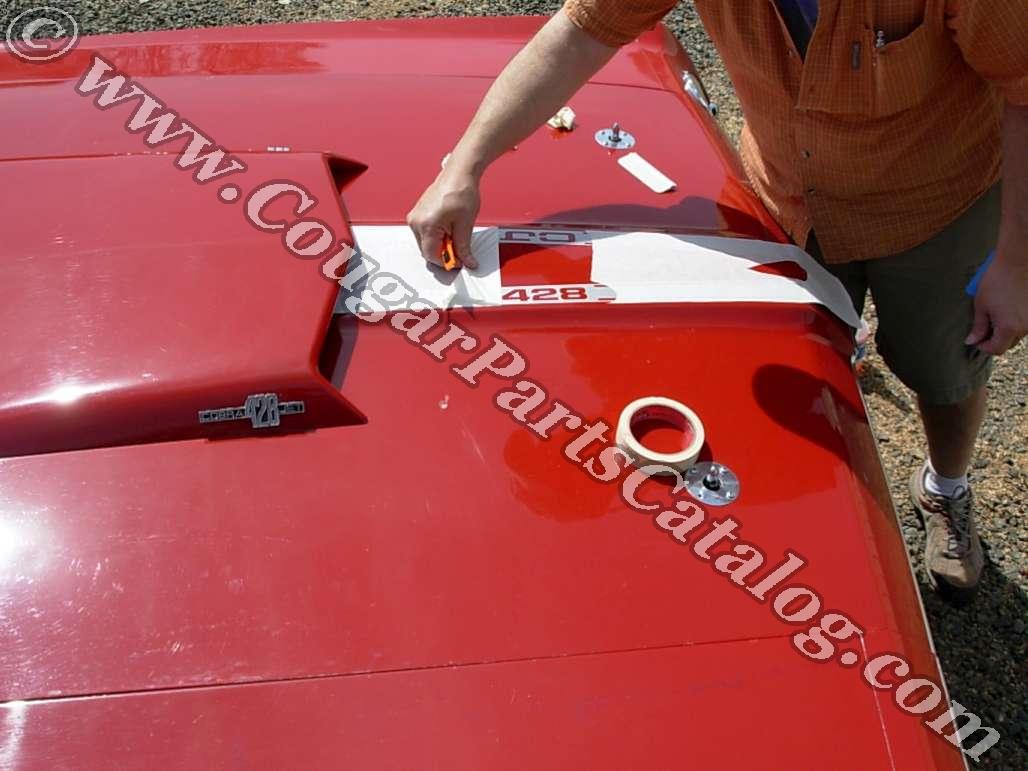
Now we are ready to do the second half, peel most of the paper back and start laying it down inch by inch. Patience... You are not in a hurry here.

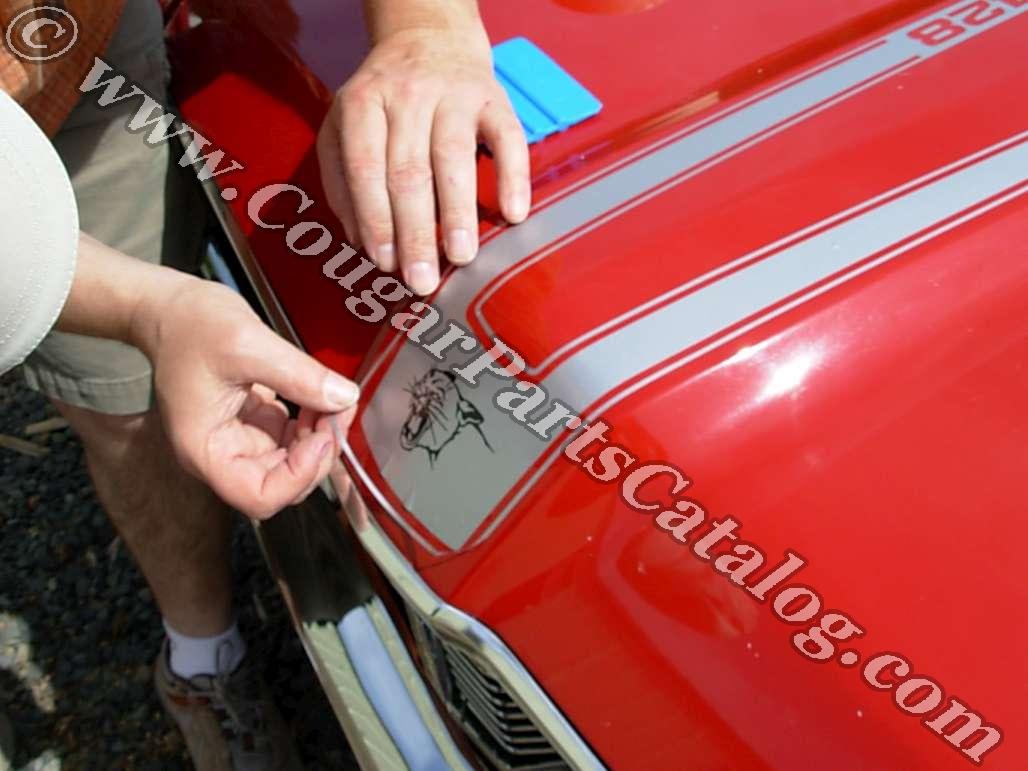
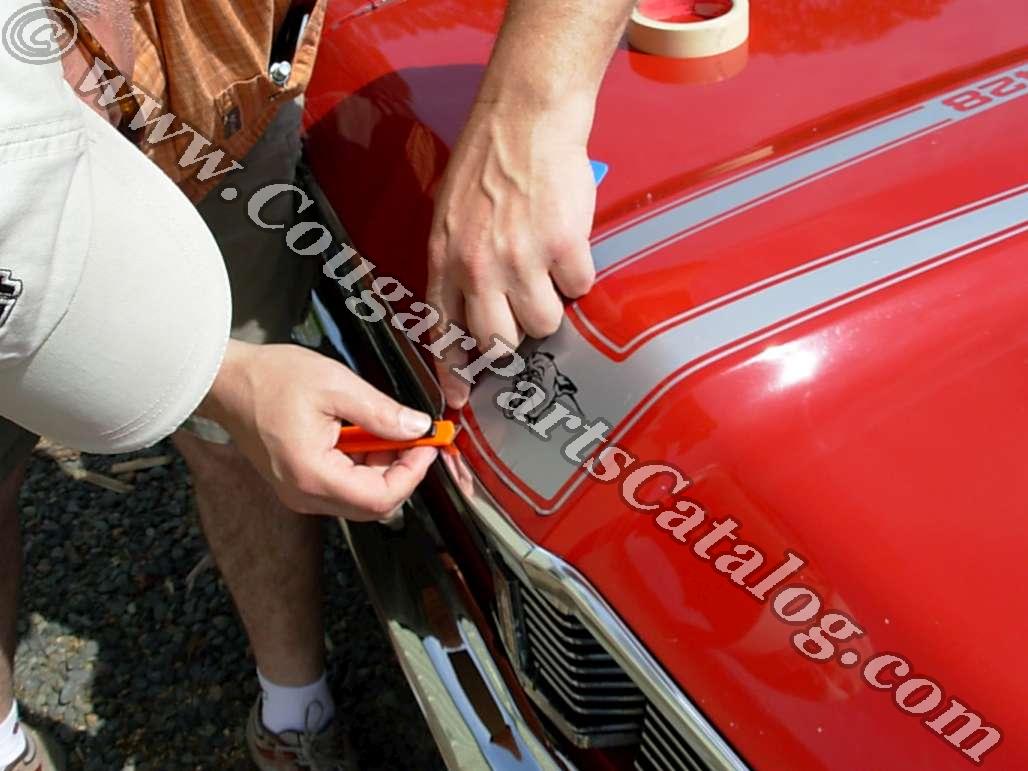
The front of this hood has a compound curve, to help the decal lay better try cutting a relief cut in the open section of the stripe.
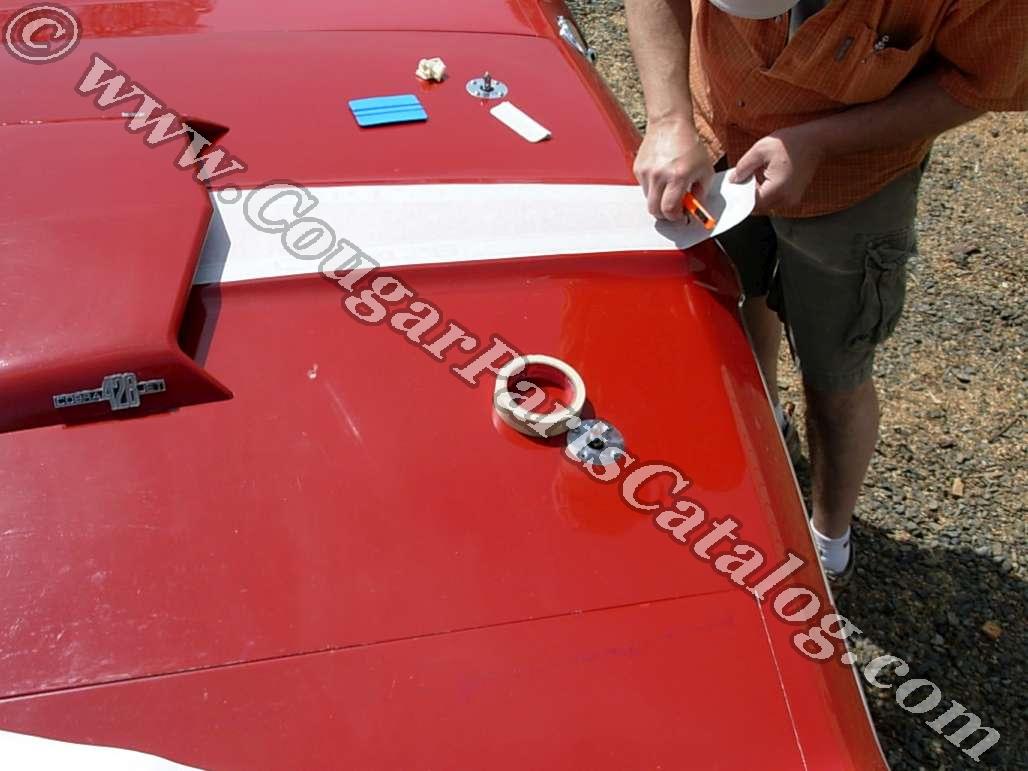
A few squirts of solution will be helpful here, Mike uses a Product called "Right On" but there are many products that do the job.
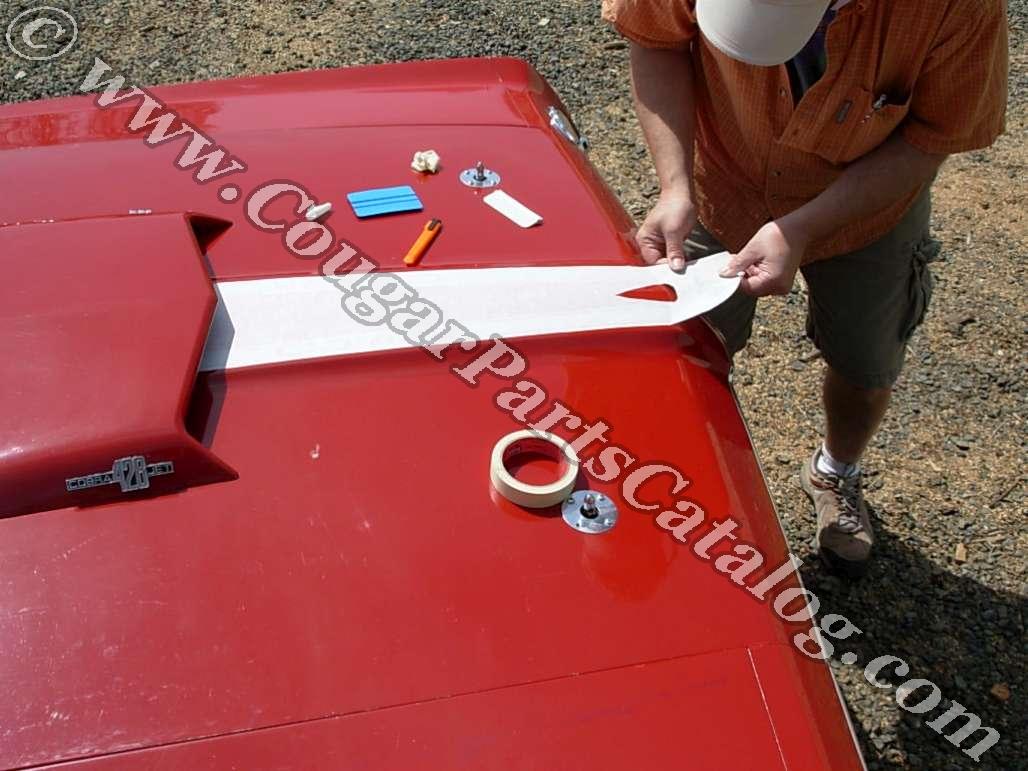
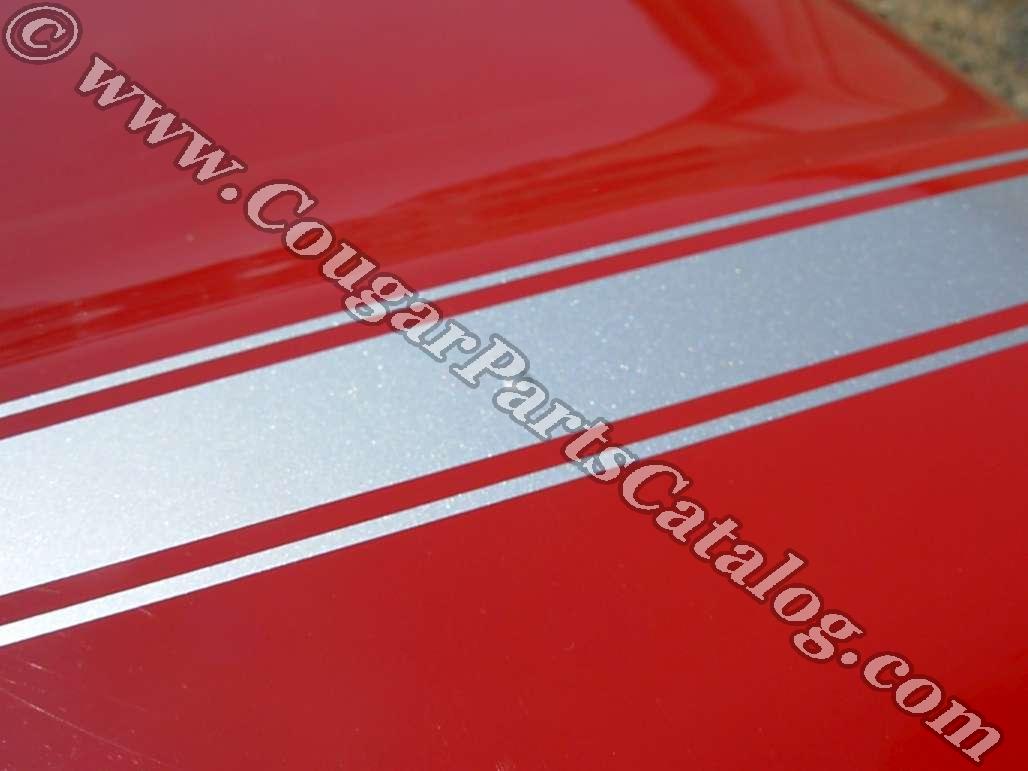
Peel back the protective layer of paper to see your results thus far.

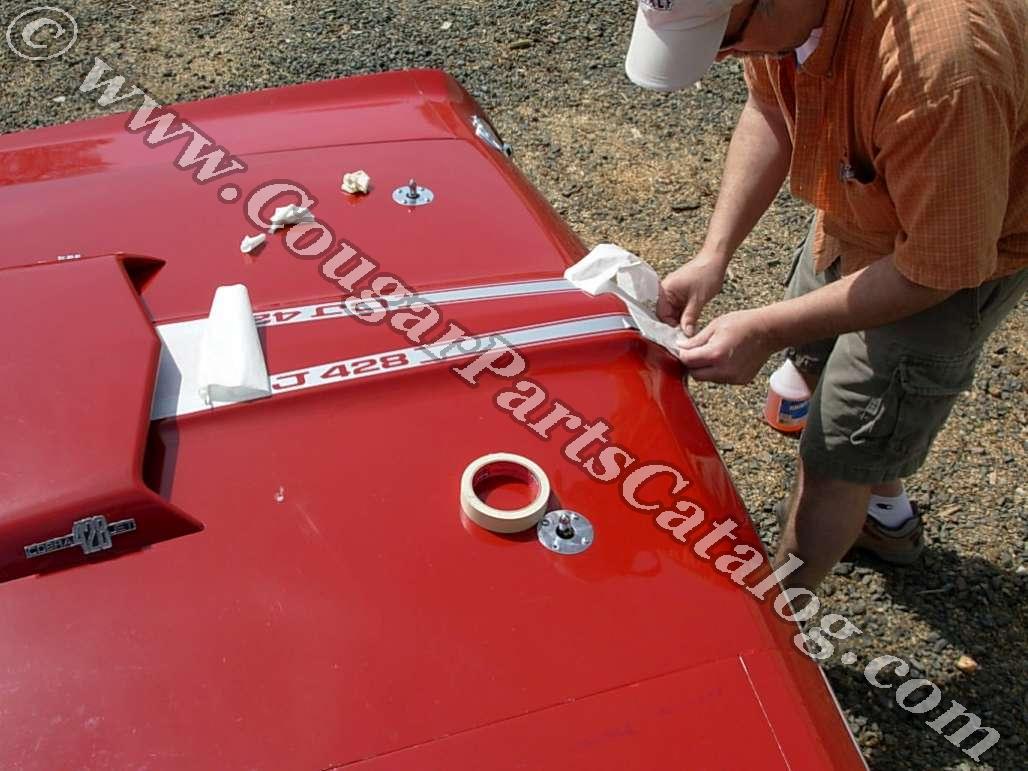
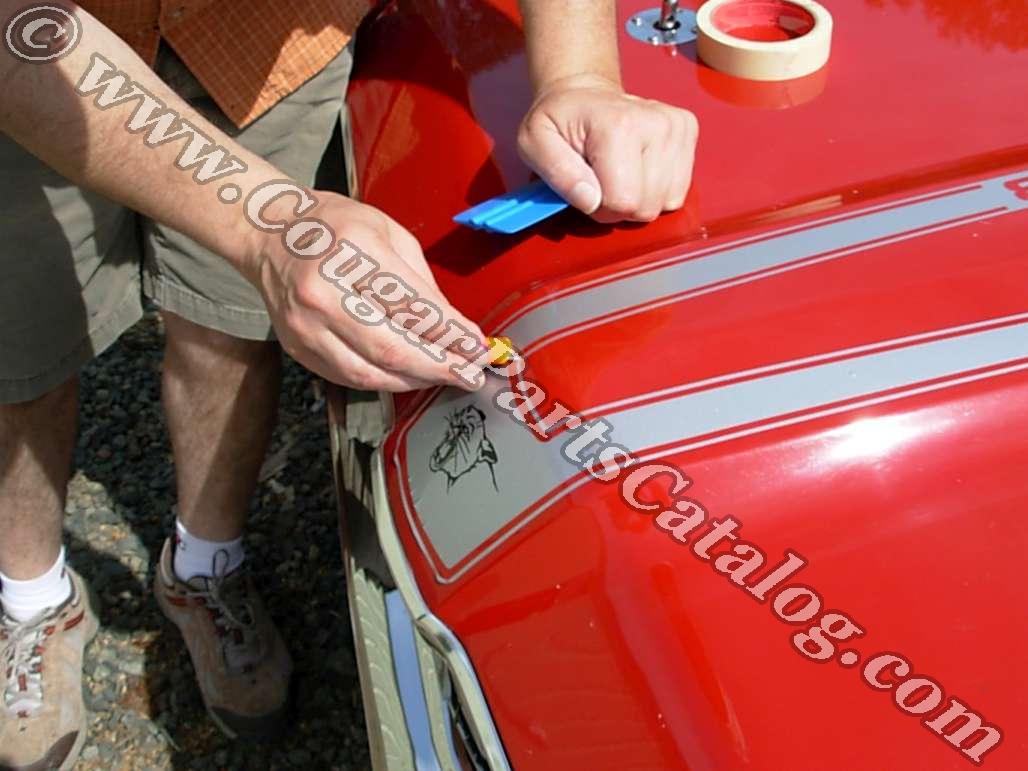
Here is where it gets dicey... Notice the "puckers"? Do not get too excited yet, they are almost unavoidable on a compound curve like this. Because this is being done in the direct sun, the decal will be pliable and will lift back up without too much effort for another go at it in certain areas.

Just relax... It will work out! Even if you do stretch the pin stripe portion of the decal by pulling back up a few times, this 3M material has a good memory and will contract back to its original size quickly.


If there are bubbles present under the decal that cannot be removed by working them to the edge of the decal just leave them alone for a couple of weeks. The expansion and contraction of both the hood and the decal will take care of most tiny bubbles. If after two weeks you still have a bubble or two then a small needle can be used to puncture the decal at the bubble, to remove the air. A small pin hole will not be seen after the air bubble has been worked out with your fingers.

Check out this video of Don's '69 428 CJ selling at Barrett-Jackson in 2010!